
There are many DIY projects homeowners can take on to save money or add a personal touch to their home-hanging a new mirror in the bathroom, for example. But bigger renovations, such as retiling a shower or adding radiant heat, may seem like jobs best left to the professionals. However, if you aren’t afraid to get your hands dirty and do it yourself, radiant heated floors could be the perfect project for you. Read on to learn how you can warm your floor in nine easy steps.
Before starting any flooring heating flooring installation in Chicago project, you should first prepare the room. This means clearing out furniture and preparing the subfloor for installation. This will help to ensure that you have enough material and avoid having to pay for a costly return trip due to insufficient materials or improperly prepared surfaces. In addition, you’ll want to make sure your home is properly insulated to prevent any heat loss.
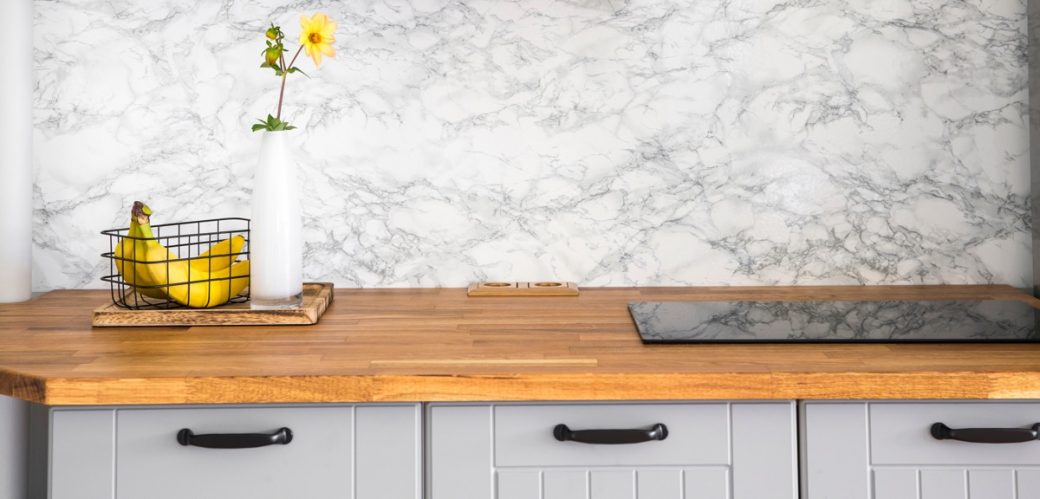
The most common heating flooring installation method involves installing super-thin conductive wires under your floor. These electric wires are then activated by the thermostat to heat your entire floor. This method works well with a variety of different types of floor coverings, including tile, marble, and stone. This type of heating is extremely energy efficient, as the conductive wires easily radiate upwards without needing to heat up the substrate underneath them. This makes it a great choice for homes with limited space, as the floor won’t take up any extra square footage.
Once the floor has been prepped, it’s time to lay out the heated wires. Before you begin, you should create a diagram of the room to make sure you have enough wire. Also, be sure to note where built-in cabinets, fixtures, or baseboards will be located as you’ll need to install around them. It’s also a good idea to use a current meter to test each line of wire and avoid cutting or crossing them.
After laying out the wire, secure it to the subfloor using a special cable strapping that’s designed with pre-engineered reliefs for heat wire. This will ensure that your wires aren’t exposed and provide a safe, reliable installation. After the heat wire is secured, self-leveler or thinset can be applied over it.
Finally, you’ll want to add your new tiles over the top of the warm wires. After the tiles are installed, it’s a good idea to apply a layer of sealant to protect your finished floor from water damage.
Although heating your floors can increase the value of your home and make it more comfortable to live in, it’s important to weigh the pros and cons of this type of project. You’ll need to consider the cost of materials and labor, as well as any additional renovations that might be required. However, if you’re willing to put in the time and effort, you can enjoy the warmth of your radiant heated floors and save money in the process.